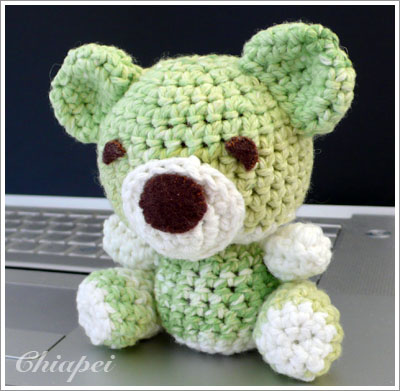
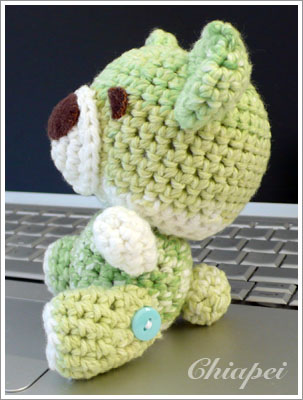
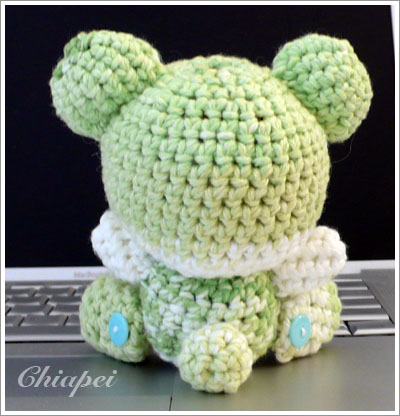
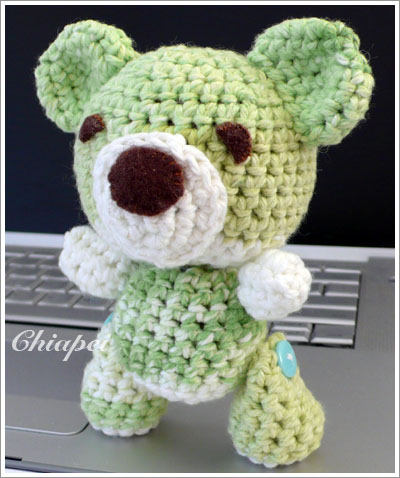
▲ 蘋果熊正面 / 側面 / 背面
學著鉤填充玩具,沒有特別買線,於是用手邊現成的棉線鉤出「糖霜青蘋果」花色的熊!
一開始把耳朵做得太大,看起來好像老鼠,一度想放棄
(就是接條長尾巴,把它真的當做老鼠做,哈)
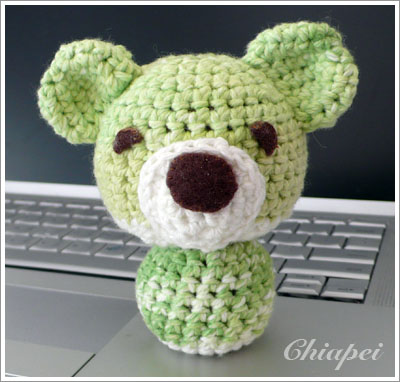
後來試著鉤了兩隻腳,擺一擺好像有比較像熊,這才興致盎然地繼續鉤下去。
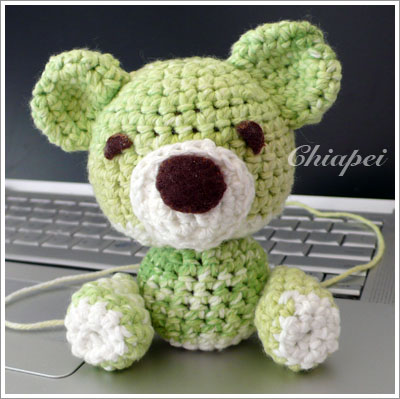
因為腿的關節是用鈕釦連接的,所以可以擺出幾種不同的可愛姿勢喔!
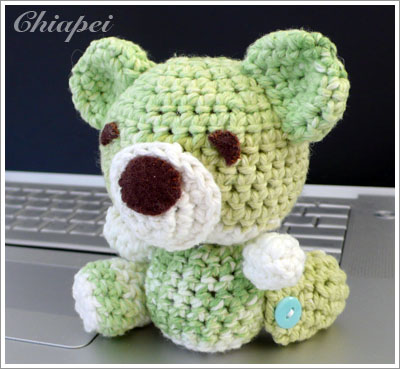
▲ 左:「嘿!看我劈腿!」
右:『熊』糾糾氣昂昂!(要小心 "橋"重心才站得起來 :p)
ps. 這種毛線織的填充娃娃叫做 amigurumi,阿米咕嚕米,很顯然是日文直接譯音的。每次看到英文裡出現這樣的日本詞彙就覺得日本人很了不起。 :p
ps2. 大家都說陳小牛很幸福,媽媽會織一堆有的沒的給她穿/戴/玩;其實最幸福的是我吧?找到一個「正當理由」搞這些不務正業的玩意兒.. 哈!
以下是蘋果熊的織法:
(原本想依這個設計來織,不過後來被我改得面目全非,就當是新的設計好了 :p)
Crocheted Amigurumi Frosty Apple Teddy Bear
Materials & Gauge:
Worsted weight yarn in lime color.
20 stitches and 26 rows to achieve 10x10 cm (4x4 inches) with 5 mm (US H/8) hook
Finished Size:
4.5 inches tall in sitting position (from ear to bottom)
Instructions:
Head (Top down)
Rnd 1: 7 sc into magic ring (7 sts)
Rnd 2: 2 sc in each st around (14 sts)
Rnd 3: *[sc 1, sc 2 in next st] repeat * around (21 sts)
Rnd 4: *[sc 2, sc 2 in next st] repeat * around (28 sts)
Rnd 5: *[sc 3, sc 2 in next st] repeat * around (35 sts)
Rnd 6-11: sc around (35 sts)
Rnd 12: *[sc 3, sc2tog] repeat * around (28 sts)
Rnd 13: *[sc 2, sc2tog] repeat * around (21 sts)
Rnd 14: *[sc 1, sc2tog] repeat * around (14 sts)
Stuff firmly
Rnd 15: sc2tog 7 times (7 sts)
Bind off.
Ears
(I think my bear's ears are too big that he looks like a Mickey mouse...
To make a smaller ear, start 6 sc instead 7.)
Rnd 1: 7 sc into magic ring (7 sts)
Rnd 2: 2 sc in each st around (14 sts)
Rnd 3-5: sc around (14 sts)
Bind off and leave long tail for sewing.
Sew to head. (No stuffing.)
Muzzle
Rnd 1: 5 sc into magic ring (5 sts)
Rnd 2: 2 sc in each st around (10 sts)
Rnd 3: *[sc 1, sc 2 in next st] repeat * around (15 sts)
Rnd 4: *[sc 1, sc 3 in next st] repeat * around (20 sts)
Bind off and leave long tail for sewing. Sew to head.
Body (Bottom up)
Rnd 1: 7 sc into magic ring (7 sts)
Rnd 2: 2 sc in each st around (14 sts)
Rnd 3: *[sc 1, sc 2 in next st], repeat * around (21 sts)
Rnd 4-8: sc around (21 sts)
Bind off and leave long tail for sewing.
Stuff and sew to head.
Arms
Rnd 1: 6 sc into magic ring (6 sts)
Rnd 2-6: sc around (6 sts)
Bind off and leave long tail for sewing.
Stuff and sew to body.
Legs
Rnd 1: 6 sc into magic ring (6 sts)
Rnd 2: 2 sc in each st around (12 sts)
Rnd 3-4: sc around (12 sts)
Rnd 5: *[sc 2, sc2tog] repeat * around (9 sts)
Rnd 6-7: sc around (9 sts)
Bind off and leave long tail for sewing.
Stuff and sew to body.
Tail
Rnd 1: 5 sc into magic ring (5 sts)
Rnd 2: 2 sc in each st around (10 sts)
Rnd 3: sc around (10 sts)
Rnd 4: *[sc 3, sc2tog] repeat * around (8 sts)
Bind off and leave long tail for sewing.
Stuff and sew to body.
Done!
Oops, remember sew the eyes and nose on the face.

全站熱搜


 留言列表
留言列表